
NoteMail now supports Webhooks, allowing you to connect your notes with tools like Make, Zapier, n8n, or even apps like Salesforce, HubSpot, Notion, and Asana. Here’s how to set it up and what you can expect.
🔧 Setting Up Webhooks
To configure your webhook:
- Open the NoteMail app on your iPhone or iPad.
- Go to Settings.
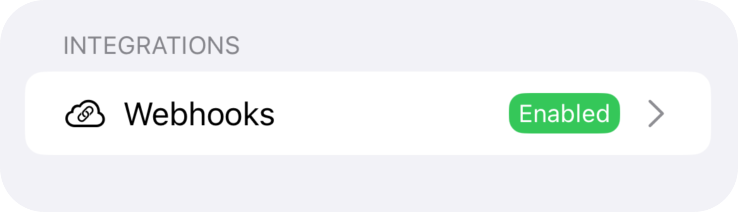
- Scroll to the Integrations section.
- Tap on Webhooks.
Here, you can enter the URL you want NoteMail to call whenever a note is created or updated. This will trigger an HTTP POST request with all the note’s data.
What Data Is Sent?
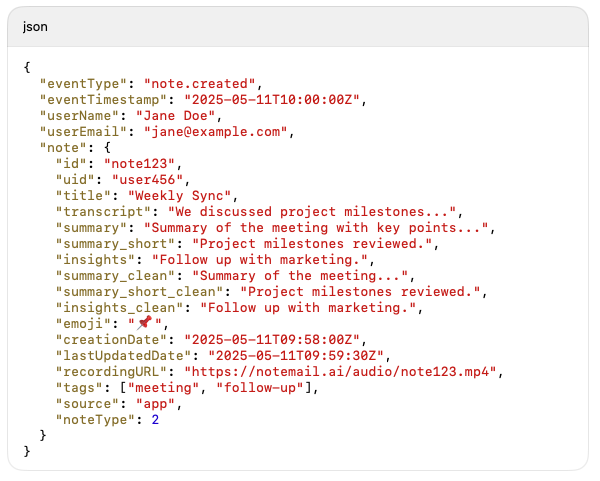
Whenever a note is created or modified, NoteMail sends a webhook with all relevant details. Here’s a sample of what the payload looks like:
You can use this JSON in automation platforms to trigger any kind of workflow — from creating a new task in Asana to logging notes in a CRM like HubSpot.
Monitoring Webhook Activity
Inside the Webhooks section, you’ll also see execution stats:
- ✅ Total Executions
- ❌ Error Count
- 📅 Last Execution Time
- 📄 Last Error Message (if any)

You can also tap into a detailed log showing each attempt, the response code, and any error message.
Security and Reliability
- Only authenticated users can configure or view their webhooks.
- Timeouts are capped at 10 seconds.
- Webhook failures do not affect note creation.
- Logs are lightweight and optimized for performance.
Limitations (for now)
- Only one webhook per user.
- No retries in this version (make sure your endpoint is stable).
- Avoid putting sensitive data in the summary or transcript if sending to insecure endpoints.